Revolutionize Your Skincare- The Baking Soda Face Mask Everyone’s Talking About!
Transform your skincare routine with a simple yet powerful baking soda face mask. This natural ingredient balances your skin’s pH, exfoliates dead cells, and fights acne-causing bacteria while reducing inflammation. You’ll need just baking soda and water to create a gentle paste that cleanses and rejuvenates your complexion in 5-10 minutes. For best results, customize your mask with ingredients like honey or lemon juice. Discover how to safely harness this kitchen staple’s amazing benefits for your specific skin type.
The Science Behind Baking Soda’s Skincare Benefits
While many people view baking soda as just a kitchen staple, its chemical properties make it an effective skincare ingredient. When you create a baking soda face mask, you’re harnessing its natural pH-balancing powers to gently exfoliate and cleanse your skin.
The slightly alkaline nature of baking soda helps neutralize excess oils and impurities that can clog your pores.
You’ll love how baking soda’s fine crystalline structure acts as a mild abrasive, helping to remove dead skin cells without causing harsh irritation. Its antibacterial properties also make it effective against acne-causing bacteria, while its anti-inflammatory qualities can help reduce redness and swelling. Additionally, its ability to reduce acid reflux can indirectly benefit your skin by promoting overall health and well-being.
When mixed with water, baking soda forms a paste that’s gentle enough for most skin types yet powerful enough to deliver noticeable results. You’re joining countless others who’ve discovered this natural, science-backed solution for clearer, more radiant skin.
Essential Ingredients and Tools for Your DIY Mask
Now that you understand how baking soda works on your skin, let’s gather everything you’ll need for your DIY face mask. The star ingredient, baking soda, should be pure and fresh – check the expiration date on your box.
You’ll also need filtered water or rose water to create the perfect consistency. Essential tools include a small glass or ceramic mixing bowl (avoid metal as it can react with the baking soda), a measuring spoon, and a clean facial brush or spatula for application.
Keep a soft washcloth and lukewarm water ready for removal. If you want to enhance your mask’s benefits, consider adding honey for moisture or lemon juice for brightening effects.
Before starting, ensure your workspace is clean and well-lit. Having everything within arm’s reach will make the mixing process smoother and more enjoyable.
Don’t forget to tie back your hair and have a headband ready.
Step-by-Step Mixing and Application Guide
Once you’ve gathered all your ingredients, creating the perfect baking soda face mask requires careful measurement and mixing.
Start by combining one tablespoon of baking soda with just enough water to form a smooth paste – usually about 1-1.5 teaspoons. Mix thoroughly until you’ve achieved a consistency similar to toothpaste.
Before applying your mask, cleanse your face and pat it dry.
Using clean fingertips, gently spread the mixture evenly across your face, avoiding the delicate eye area. You’ll want to apply it in circular motions, which helps with gentle exfoliation. Don’t press too hard – let the baking soda do the work.
Leave the mask on for no more than 5-10 minutes. If you feel any burning or intense tingling, remove it immediately.
When it’s time, rinse thoroughly with lukewarm water, making sure to remove all traces of the mask. Follow up with your favorite moisturizer to lock in the benefits.
Safety Measures and Skin Patch Testing
Before applying any homemade face mask to your entire face, performing a skin patch test can help prevent adverse reactions.
Apply a small amount of the baking soda mixture to your inner forearm and wait 24 hours to check for redness, itching, or irritation. If you notice any discomfort, don’t use the mask on your face.
When you’re ready to use the mask, keep these essential safety guidelines in mind:
Don’t leave the mask on for more than 5-10 minutes, as baking soda can be harsh on sensitive skin. Avoid the eye area, nostrils, and mouth.
If you feel any burning or intense tingling, remove the mask immediately with cool water. Don’t use this mask more than once per week, as overuse can disrupt your skin’s natural pH balance.
Those with rosacea, eczema, or highly sensitive skin should consult their dermatologist before trying this treatment. Additionally, it’s important to stay hydrated, as proper hydration levels can contribute to overall skin health.
Customizing Your Mask for Different Skin Types
Since different skin types require unique care, you’ll need to adjust your baking soda mask recipe accordingly.
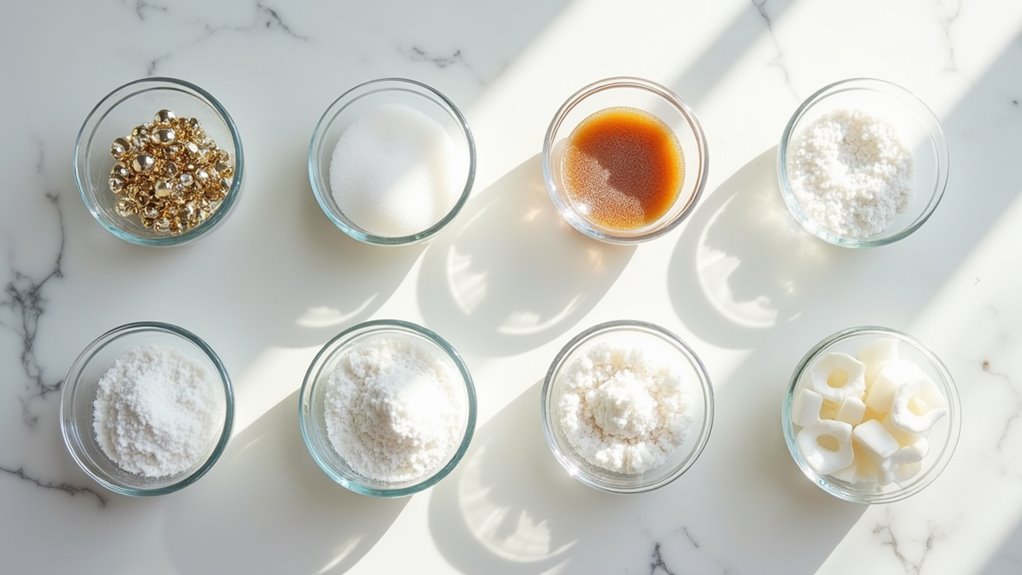
For oily skin, mix baking soda with tea tree oil and water to create a paste that fights excess sebum.
If you’ve got dry skin, combine baking soda with honey and a few drops of jojoba oil to add moisture while exfoliating.
Those with sensitive skin should use less baking soda and more soothing ingredients like aloe vera or cucumber juice.
For combination skin, try mixing baking soda with yogurt and lemon juice to balance out different areas of your face.
If you’re dealing with acne-prone skin, add a touch of apple cider vinegar to your mixture for its antibacterial properties. This is especially beneficial because baking soda has anti-inflammatory effects that can help reduce swelling and discomfort from acne.
Remember to always use room temperature ingredients and mix your mask fresh before each application.
You’ll know you’ve found the right combination when your skin feels refreshed but not irritated after use.
Results and Recommended Usage Frequency
While results can vary from person to person, most users notice smoother, brighter skin after their first baking soda mask application. You’ll join countless others who’ve discovered this natural skincare secret, experiencing improved texture and a clearer complexion within just a few uses. For best results and to protect your skin’s natural barrier, follow these usage guidelines:
-
Start with once-weekly applications, then adjust based on your skin’s response – you’ll know you’re part of the right routine when your skin feels refreshed without any irritation.
-
Don’t exceed two applications per week, even if you’re loving the results – this keeps your skin balanced and healthy like other successful users.
-
If you notice any redness or sensitivity, reduce frequency to once every two weeks – many in our skincare community have found this gentler approach works better for sensitive skin. Additionally, baking soda’s alkaline properties can help neutralize excess acidity on the skin, enhancing its overall appearance.
Frequently Asked Questions
Can I Store the Leftover Baking Soda Face Mask for Future Use?
You shouldn’t store leftover baking soda face masks since they’ll lose effectiveness and can grow bacteria. Instead, mix a fresh batch each time you’re ready for your skincare treatment.
Does Baking Soda Face Mask Help With Acne Scars From Years Ago?
While you might’ve heard about using baking soda on acne scars, it won’t effectively treat old scars. You’ll see better results with proven treatments like retinoids or professional procedures.
Can I Apply the Mask Right After Using Other Skincare Products?
You shouldn’t mix baking soda with other products, as it can cause irritation. Wait at least an hour after your regular skincare routine, and make sure your face is completely clean.
How Long Does It Take to See Visible Results From Regular Use?
You’ll notice initial results like brighter skin after 2-3 applications. For more significant improvements in texture and tone, stick with it for at least 2-3 weeks of consistent use.
What’s the Difference Between Aluminum-Free and Regular Baking Soda for Masks?
You won’t notice much difference since both types work similarly. Aluminum-free baking soda is just a purer form that some people prefer for their natural skincare routines, but both are safe.